Mar 312014
 

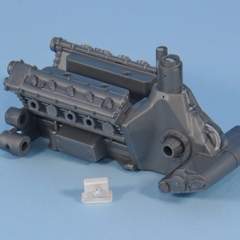
To detail the engine, use the instructions of the scale model 1/12, and several reference photos that friends have passed me.

Watching the instructions and after preassembly I made, I found that a reserve deposit and supply lines of fuel and oil are what most are missing, so I built the deposit in the router with pieces of resin (deposit that can be seen with white primer) and I’ve done all the holes in the engine block to attach the electrical wiring and fuel and oil lines.

Porsche Carrera GT

Mar 242014
 

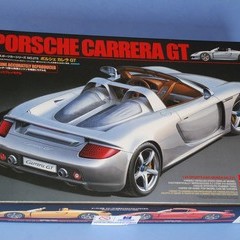
I start a new project, the assembly of the Porsche carrera GT.

At first the idea is to mount as it comes in the box, but I’m sure that at the end some little detail will be added ….

Porsche Carrera GT

Porsche Carrera GT

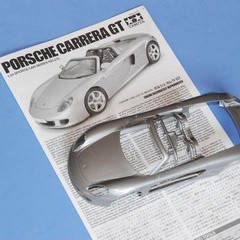
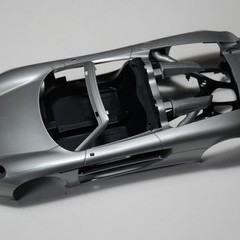
To make contact, I have started to pre-assemble different parts.

Porsche Carrera GT

Mar 142014
 

The last details …. The mirror is a piece of resin to which will open the hole where the mirror is located.

McLaren F1 GTR 1996

Once painted, with a strip of black decal marked the edge of the mirror and then paint the inside black.

McLaren F1 GTR 1996

McLaren F1 GTR 1996

Mar 112014
 

I had to enlarge the front spoiler because the photoetching part that brought the kit was too short. I cut it in half and added four millimeters with a rest of the own photoetching part. The tricky thing of this work is to solder the three pieces completely aligned, but with a little practice with the solder iron, about 20 years or so, is easily achieved…

McLaren F1 GTR 1996

The windshield wipers are build with two pieces in very detailed photoetching. I gave the correct shape, soldered and added a 0,4mm pipe to the bracket of the wiper, which will join it to the chassis where I made a hole to help the placement of the wipers.

McLaren F1 GTR 1996

A little superglue and everything is in its place.

McLaren F1 GTR 1996

It’s almost ready, just need to mount the rear wing and make the antenna.

Mar 092014
 

The kit has an acetate for the side windows and the windshield, and a decal for the windshield, but I prefer to do one with integrated tagline.

I just scan and retouch on the computer, and once I have a laser printer copies, I highlight with the airbrush white lettering. A light coat of varnish and voila, the ribs of the decal will not notice.

McLaren F1 GTR 1996

McLaren F1 GTR 1996

McLaren F1 GTR 1996

Mar 012014
 

I’ve started the final mounting of this model placing some rivets from Top Studio

McLaren F1 GTR 1996

McLaren F1 GTR 1996

And the light that was placed for the Le Mans race, to make visible the side numbers at night. I’ve build it placing tin on a sheet of brass of 0,1×0, 25, and giving shape with the file.

McLaren F1 GTR 1996

Feb 262014
 

Interior finished … I simply added carbon fiber decals and switchboard wiring and other electronics have.
Being so dark the interior, I exaggerated a little the color of wiring and connectors to make it visible once closed.

McLaren F1 GTR 1996

McLaren F1 GTR 1996

McLaren F1 GTR 1996