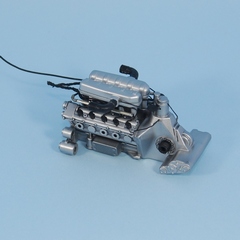
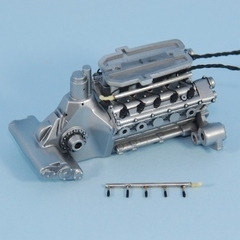
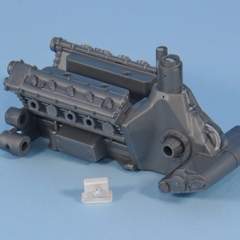
With the assembly of the main lines of fuel and oil the engine is finished and ready for its assembly inside the car.
For the wiring I used tin thread to weld of 0.8 and 1,2mm. I like to use the tin thread for being easily malleable, is very easy to give the required shape.
In order to detail the engine I’ll add the electrical wiring and the fuel lines.
The main fuel line that enters the injectors is very visible, and I do not know why Tamiya does not add it, since in the model on 1:12 scale it is a piece aside. So I simulate with nickel-plated tube of 1,2mm which I solder 0,8mm tubes to simulate the injectors. I add a connector in resin to which I will fix the fuel lines.
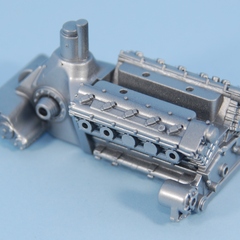
After mounting the engine and preparing the drills for its wiring, I have painted it with Alclad Aluminium on black primer. Now it needs a slight wash with oils to emphasize the unions of the components, but it must be clean, I do not imagine an engine as this dirty… it would be a crime.
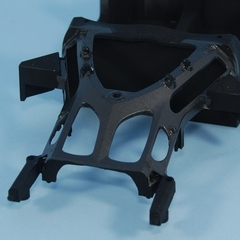
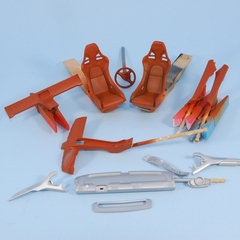
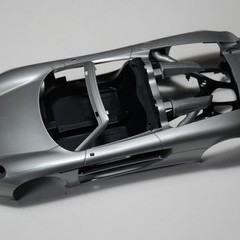
While the pieces that I paint get dry I initiate the work with the carbon fiber decals… in this case with the most visible, the one than crosses over the engine. They have been almost two hours of dryer and decal softener, but it has been smooth and of a single piece…
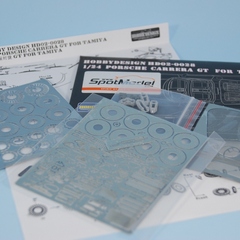
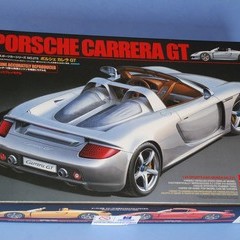
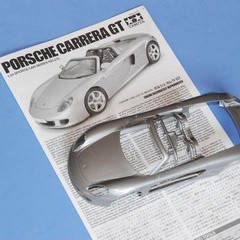
I have received from SPOTMODEL a kit of improvement designed by Hobby Design for the Porsche Carrera GT of Tamiya.
It consists of four photoetched plates, although one only brings the support of the windshield wiper, and resin pieces for the calipers.
This kit allows to replace brake discs completely and to add too many details to the car, and mainly replaces the horrible transparent part with decals that brings the original kit of Tamiya for the engine covers with a grid, that is what mounts the real vehicle.
To detail the engine, use the instructions of the scale model 1/12, and several reference photos that friends have passed me.
Watching the instructions and after preassembly I made, I found that a reserve deposit and supply lines of fuel and oil are what most are missing, so I built the deposit in the router with pieces of resin (deposit that can be seen with white primer) and I’ve done all the holes in the engine block to attach the electrical wiring and fuel and oil lines.

